How to Manage Tile Grout Cracking: A Forensic Engineering and Maintenance Guide
The integrity of a tiled surface is frequently judged by the stone or ceramic units themselves, yet the true bellwether of structural health lies in the interstitial lines of grout. Grout is not merely a decorative filler; it is a sacrificial component designed to manage the minute stresses of building movement, thermal expansion, and moisture cycling. How to Manage Tile Grout Cracking. When these stresses exceed the material’s elastic limit, the result is a fracture. While a single hairline crack might appear benign, in a wet environment or a high-traffic area, it represents a breach in the surface’s hydraulic defense.
Managing these failures requires a departure from the “patch-and-forget” mentality that characterizes many DIY repairs. Grout cracking is rarely a surface-level phenomenon; it is typically a symptom of a deeper mechanical conflict. Whether it is the result of improper hydration during the curing process, excessive deflection in the wooden subfloor, or the omission of essential expansion joints, the crack is a data point. To address it effectively, one must act as a forensic analyst, identifying the root cause before selecting a corrective methodology.
In the contemporary residential and commercial landscape, the complexity of tile installations has increased with the advent of large-format tiles and “curbless” wet rooms. These modern geometries place higher demands on the grout’s performance. A failure to understand the physics of the bond will inevitably lead to a cycle of recurring repairs. This editorial provides a definitive framework for navigating these challenges, prioritizing long-term structural resilience over temporary aesthetic fixes.
Understanding “how to manage tile grout cracking”
Developing a strategy for how to manage tile grout cracking necessitates a shift from viewing grout as a static paste to seeing it as a dynamic structural element. A pervasive misunderstanding in the industry is that grout acts as an adhesive. In reality, grout is a compressive filler; the thin-set mortar beneath the tile provides the adhesion, while the grout manages the lateral “shove” of the tiles. When investigating a crack, the first question must be: is the failure “Adhesive” (pulling away from the tile edge) or “Cohesive” (splitting down the middle of the grout line)?
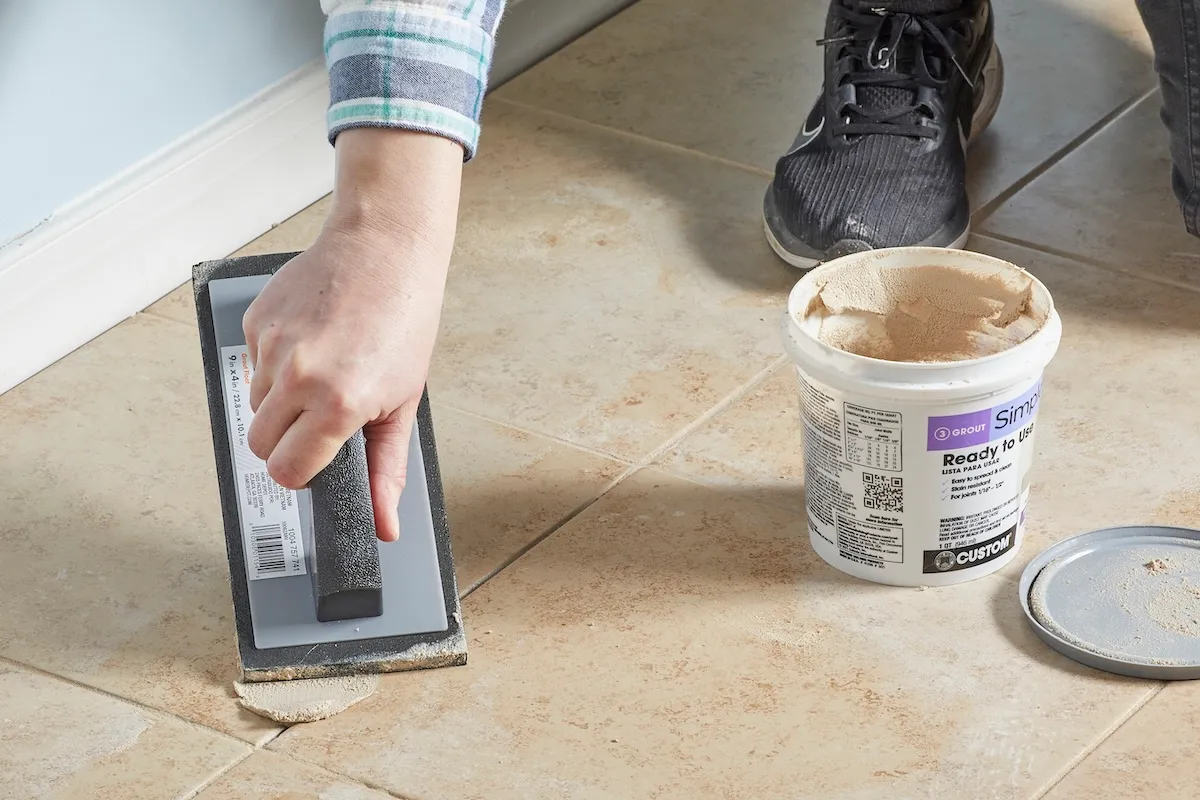
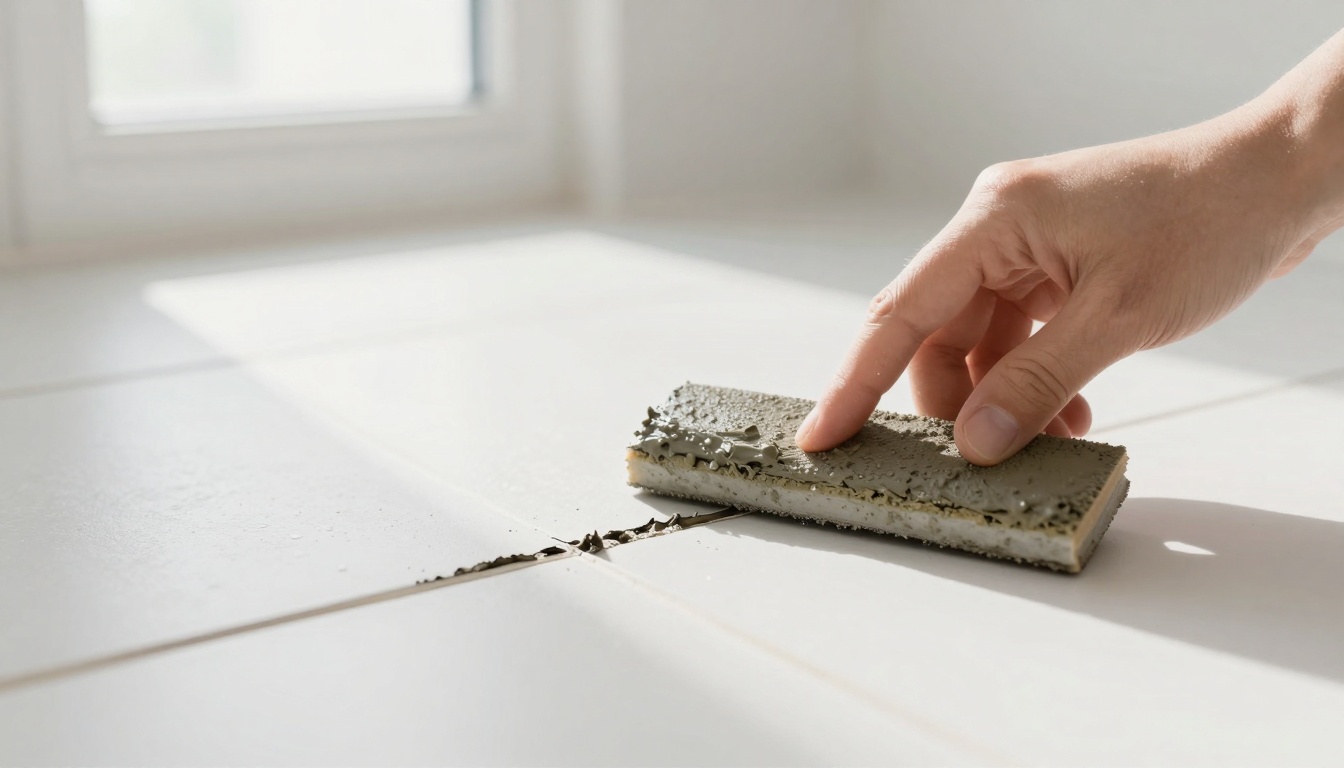
The risk of oversimplification often surfaces when property owners apply more grout over an existing crack. This is a technical error of the highest order. New grout cannot bond effectively to old, cured grout at a thickness of a few millimeters. To properly how to manage tile grout cracking, one must recognize that the repair is a multi-stage process involving the mechanical removal of the compromised material to at least half the depth of the tile. This creates a “Mechanical Key” that allows the new material to integrate with the system’s geometry.
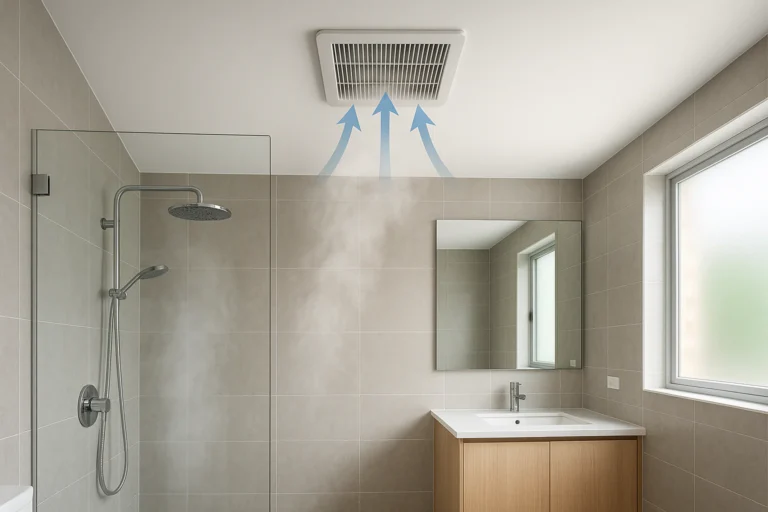
Furthermore, the environmental context of the crack dictates the management strategy. A crack in a dry kitchen backsplash is often a result of simple building settlement, whereas a crack in a shower floor is a “High-Urgency” event. In the latter, capillary action pulls water through the crack, saturating the mortar bed and potentially compromising the waterproof membrane below. Understanding how to manage tile grout cracking involves a prioritized response where hydraulic safety is weighted more heavily than visual symmetry.
Deep Contextual Background: The Evolution of Grout Science
Historically, grout was a simple mixture of sand and lime, or later, Portland cement. These materials were rigid and highly porous, relying on the sheer mass of the substrate to remain stable. In ancient masonry, grout lines were often wide, allowing for a high degree of “Breathability,” but this also meant they were prone to erosion and frequent re-pointing.
The mid-20th century saw the introduction of polymer-modified grouts, which added latex or acrylic resins to the cementitious base. This increased the “Flexural Strength” of the grout, allowing it to withstand the vibrations of modern lightweight timber framing. Today, the frontier of grout science is dominated by high-performance epoxies and pre-mixed urethanes. These materials are virtually non-porous and offer superior elastic properties. However, their complexity requires a higher level of “Trade Craft”—if the mixing ratios are off by even a few percentage points, the resulting grout will never reach its intended hardness, leading to premature cracking.
Conceptual Frameworks and Mental Models
When auditing a failed installation, professionals apply these frameworks to diagnose the underlying pathology.
1. The Subfloor Deflection Model
This model evaluates the “L/360” or “L/720” rating of the floor. If the joists are too flexible, the floor “bounces” as people walk. Tiles are rigid; grout is semi-rigid. If the subfloor deflects beyond the grout’s tolerance, a horizontal shear crack is inevitable. This framework dictates whether the grout can be repaired or if the floor must be structurally stiffened.
2. The Hydration Curve Analysis
This treats grout as a chemical reaction rather than a drying paste. If the water-to-powder ratio was too high during installation, the evaporating water leaves behind “Micro-Voids,” making the grout brittle and chalky. This model identifies “Soft Grout” that must be entirely replaced rather than patched.
3. The Thermal Expansion Loop
Materials expand and contract at different rates. If a tiled surface meets a different material (like a bathtub or a wall) without a flexible “Movement Joint,” the expanding tiles will crush the grout at the perimeter. This model prioritizes the use of 100% silicone caulk in “Change-of-Plane” joints.
Key Categories of Grout Materials and Trade-offs
Selecting the right material is a core component of how to manage tile grout cracking effectively in specific environments.
Realistic Decision Logic
If the crack is located in a corner where two walls meet, the logic dictates Silicone Caulk rather than any grout. If the crack is in a main floor with high deflection, Pre-mixed Urethane is the superior corrective material due to its higher “Elongation” properties.
Detailed Real-World Scenarios How to Manage Tile Grout Cracking
Scenario: The “Shower Floor” Pinhole
A homeowner notices a hairline crack in the center of a mosaic shower floor. The forensic audit reveals that the “Mud Bed” beneath the tile was not fully compacted, creating a “Void.” The pressure of standing on the tile causes the grout to collapse into the void. The resolution requires “Invasive Grouting”—injecting a low-viscosity epoxy into the crack to fill the void before re-grouting the surface.
Scenario: The Large-Format Floor Shear
In a luxury living room with 24×48 porcelain tiles, a long crack runs through three grout lines. This is a “Structural Settlement” signature. The plan involves installing a “Stress Suppression Membrane” in the affected area. Without this membrane, any new grout will simply crack again as the house continues to breathe seasonally.
Planning, Cost, and Resource Dynamics
The fiscal management of grout repair is an exercise in “Lifecycle Value.“
-
Direct Costs: Removing and replacing grout for a standard bathroom floor typically costs $500–$1,200 in professional labor.
-
Indirect Costs: The risk of water damage. A $100 grout crack, if ignored in a second-story bathroom, can lead to a $10,000 ceiling and mold remediation project.
-
Opportunity Cost: Using cheap cementitious grout for a repair instead of high-performance resin-based grout ensures a shorter “Mean Time Between Failures” (MTBF).
Range-Based Capital Allocation for Grout Management
Tools, Strategies, and Support Systems
-
Oscillating Multi-tools: Essential for the precision removal of old grout without chipping the edges of the porcelain.
-
Vacuum-Shrouded Grinders: Used in large-scale commercial repairs to manage the significant silica dust generated during grout removal.
-
Digital Moisture Meters: Used to ensure the substrate is dry before re-grouting; trapped moisture will cause new grout to fail instantly.
-
pH-Neutral Cleaners: Managing grout involves avoiding acidic cleaners (like vinegar) which eat away the cement binder over time, causing “Sand-out” and cracking.
-
Expansion Joint Strips: Pre-manufactured plastic or metal profiles that are inserted into the layout to provide “Breathing Room” in large floor spans.
-
Grout Infiltrants: Water-thin resins used to stabilize “Soft” grout in historic installations where full removal is too risky.
Risk Landscape: Taxonomy of Compounding Failures
-
The “Wicking” Failure: A crack allows water to be sucked behind the tile. This softens the thin-set, causing the tile to “de-bond.” Once the tile moves, the rest of the grout in the room will begin to fail like a falling domino set.
-
The “Freeze-Thaw” Breach: In exterior or unheated entries, water enters the grout crack, freezes, expands by 9%, and physically heaves the tile off the substrate.
-
The “Efflorescence” Signal: White, crusty salt deposits on a grout crack indicate that water is moving through the substrate from behind, signaling a major waterproofing failure.
Governance, Maintenance, and Long-Term Adaptation
A resilient tiled surface requires a “Monitoring Governance”:
-
Bi-Annual Inspection: Check all “Wet-to-Dry” transitions. Use a plastic tool to gently tap tiles; a “hollow” sound near a grout crack indicates de-bonding.
-
Sealer Review: For cementitious grouts, a “Bead Test” should be performed every 12 months. If water does not bead on the surface, the grout is vulnerable to moisture-driven cracking.
-
Adjustment Trigger: If a crack reappears within 6 months of a repair, the management strategy must pivot from “Material Replacement” to “Structural Reinforcement.“
Common Misconceptions and Technical Corrections
-
“Grout cracks because the house is settling.” While true for new builds, in older homes, cracking is usually a sign of “Moisture Cycling” or subfloor rot.
-
“Adding more water makes grout easier to apply.” This is a fatal error. Excess water creates a weak “Porous Matrix” that will crack as soon as it fully cures.
-
“Caulk and grout are the same.” Caulk is an elastomer; grout is a mineral. Never use grout in a corner; it will crack because corners are 3D movement hubs.
-
“Narrow grout lines are safer.” In many cases, narrow lines (under 1/16″) are more prone to “Bridge Failure” because there isn’t enough material to absorb movement.
-
“Tile is waterproof.” Tile and grout are a “Water-Shedding” system, not a waterproof one. The management of cracks is the primary defense for the home’s structure.
Conclusion
Mastering how to manage tile grout cracking is an exercise in “Structural Stewardship.” The crack is the final expression of a mechanical narrative that often begins inches below the surface. By moving beyond superficial fixes and adopting a forensic approach—one that respects the physics of deflection, the chemistry of hydration, and the necessity of movement joints—property owners can maintain the architectural integrity of their spaces. Grout management is a discipline of patience; it requires the intellectual honesty to admit when a surface-level crack is a herald of a deeper, systemic issue. When addressed with precision and high-performance materiality, a tiled surface can transcend its role as a utility and become a durable, permanent asset.