Common Bathroom Waterproofing Mistakes: A Senior Editorial Guide
The integrity of a residential structure often relies on the invisible performance of a few millimeters of specialized material tucked behind a decorative façade. In the context of a bathroom renovation, the decorative tile and stone are merely cosmetic shields; the actual burden of moisture management falls upon the waterproofing subsystem. Common Bathroom Waterproofing Mistakes. Water, in its liquid and vapor states, possesses a relentless ability to exploit the smallest breach in a surface’s continuity. When the management of these fluids fails, the resulting damage is rarely localized. Instead, it initiates a compounding cycle of structural decay, fungal growth, and atmospheric degradation that can compromise the entire building envelope.
The challenge of modern waterproofing lies in the convergence of two conflicting trends: the rise of the high-discharge “curbless” wet room and the increased use of moisture-sensitive engineered wood in modern framing. While traditional bathrooms utilized a distinct “basin” to contain water, contemporary designs often turn the entire room into a potential wet zone. This requires a transition from localized protection to a holistic, “continuous tanking” approach. A failure to recognize this shift—treating a luxury open shower with the same defensive strategy as a standard 1970s alcove tub—is a fundamental architectural oversight.
To address these vulnerabilities, one must adopt a forensic mindset during the planning and execution phases. Waterproofing is not a singular event but a layered defense strategy that involves substrate preparation, chemical compatibility, and thermal movement management. If any of these layers are compromised, the system fails. This editorial analysis seeks to deconstruct the common bathroom waterproofing mistakes that lead to catastrophic failures, providing a definitive reference for those who prioritize structural longevity over superficial speed.
Understanding “common bathroom waterproofing mistakes”
The identification of common bathroom waterproofing mistakes begins with a rejection of the “tile is waterproof” myth. Tile and grout are, by their very nature, porous. Grout, in particular, acts like a sponge, pulling water through its capillary structure via a process known as “wicking.” Once moisture passes through the grout, it must encounter a secondary, impenetrable barrier. The most frequent and high-consequence mistake is the failure to create a truly continuous membrane, leaving small gaps at the transition between the floor and the wall or around the plumbing valves.
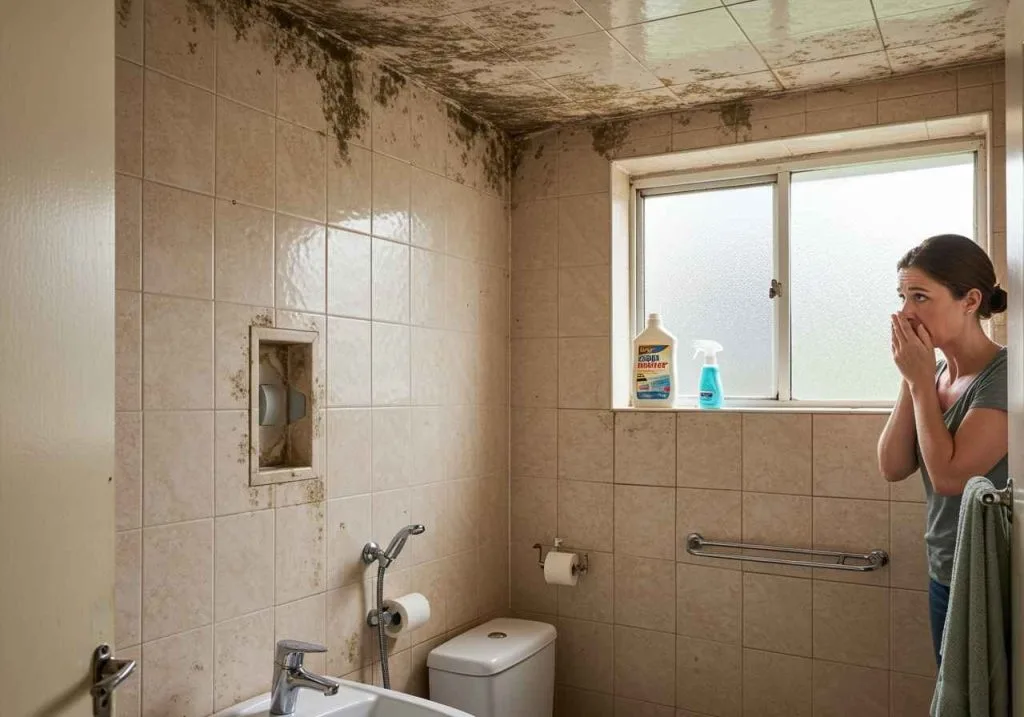
A sophisticated understanding of these risks also accounts for vapor transmission. In steam showers or high-heat environments, water exists as a gas that can penetrate materials that liquid water cannot. Many systems that are rated for “waterproofing” are not rated as “vapor barriers.” Applying a standard liquid membrane to a steam shower without a secondary vapor-retardant layer allows steam to permeate the wall cavity, where it eventually condenses back into liquid water against the cold exterior sheathing. This hidden condensation is the primary cause of “invisible rot” in modern luxury suites.
Furthermore, the mistake of “material mixing” is rampant. Builders often attempt to save costs by using a liquid membrane from one manufacturer and a specialized tape or corner-reinforcement from another. Because these chemicals are often engineered to bond specifically with their own proprietary formulas, mixing them can lead to de-lamination. Over time, the stress of the home’s natural settling causes these un-bonded joints to pull apart, creating a microscopic tear that allows gravity to pull gallons of water into the subfloor with every use.
Deep Contextual Background
The history of bathroom waterproofing is a record of increasingly thin but more effective barriers. In the early 20th century, waterproofing was achieved through “heavy-duty” engineering. Lead liners were hand-soldered into basins, or thick mortar beds were “floated” over tar paper. These systems were effective due to their sheer mass and the natural durability of metal, but they were labor-intensive and added thousands of pounds to the home’s structural load.
As we moved into the mid-century, the industry pivoted toward hot-mop asphalt and PVC liners. While these were faster to install, they introduced a new failure point: the “puncture risk.” A single nail dropped by a drywaller could pierce a PVC liner, rendering the entire basin useless. The current state-of-the-art involves “surface-applied membranes”—either liquid-applied or sheet-bonded. These systems allow the tile to be bonded directly to the waterproofing, eliminating the “saturated mortar bed” problem of the past. However, this shift toward thinner, more precise systems has narrowed the margin for error. A mistake that was once absorbed by a two-inch thick mortar bed is now catastrophic in a system where the total barrier thickness is measured in mils.
Conceptual Frameworks and Mental Models
1. The “Continuous Tanking” Mental Model
This framework views the bathroom floor and the lower 12 inches of all walls as a “swimming pool.” If you could not fill the room with two inches of water without it leaking, the waterproofing is incomplete. This model forces the planner to prioritize the “transition zones” where the floor meets the wall.
2. The Thermal Expansion Coefficient
Every material in the bathroom—wood, cement, tile, and metal—expands and contracts at different rates when exposed to hot water. This framework dictates that waterproofing must remain elastic. A mistake is using a “rigid” waterproofing approach that cracks the first time the house settles or the temperature fluctuates.
3. The Gravity Path Audit
This involves tracing a single drop of water from the top of the showerhead to the drain. Any point where gravity could pull that drop into a “flat” spot (like a window sill or a bench) is a high-risk failure zone. This model mandates a minimum 2% slope on all horizontal surfaces.
Primary Categories of Waterproofing Systems
| System Type | Primary Benefit | Significant Trade-off | Ideal Application |
| Liquid Membranes | Seamless; easy for complex shapes | Thinness is hard to verify | Small alcoves; DIY-friendly |
| Bonded Sheet Membranes | Consistent thickness; vapor proof | Difficult to install in corners | Steam showers; high-traffic |
| Pre-Fab Systems | Factory-tested waterproofing | Fixed dimensions; high cost | Standardized luxury builds |
| PVC Liners | Inexpensive; proven history | “Saturated bed” odor risks | Traditional “curbed” showers |
Realistic Decision Logic
The transition from a “liquid” to a “sheet” membrane is often a question of environmental control. Liquid membranes require specific humidity and temperature levels to cure correctly. If a project is being executed in a cold, damp winter, a sheet membrane is the superior choice because it provides an immediate, mechanical barrier that does not rely on chemical drying times.
Detailed Real-World Scenarios Common Bathroom Waterproofing Mistakes
Scenario A: The “Curbless” Transition
A homeowner wants a seamless floor from the bedroom into the shower. The mistake occurs at the “transition line.” Without a curb to hold water, the waterproofing must extend at least three feet into the “dry” area of the bathroom. Failure to “tank” the entire bathroom floor leads to water migrating under the bathroom floor tiles and into the bedroom carpet or hardwood.
Scenario B: The Niche Failure
A decorative “niche” is carved into the wall for shampoo. The most common error is failing to slope the bottom shelf of the niche toward the shower. Water sits in the corner of the niche, eventually penetrating the grout and attacking the raw edge of the wall studs. A “top” plan specifies a pre-manufactured, waterproof niche box rather than a site-built version.
Planning, Cost, and Resource Dynamics
The economic reality of waterproofing is that it is the cheapest insurance policy a homeowner can buy.
| Component | Baseline Spend | “Remediation” Cost | Risk Ratio |
| Membrane Material | $300 – $600 | $15,000 (Full Tear-out) | 1:25 |
| Corner Tape/Seals | $50 | $2,000 (Localized repair) | 1:40 |
| Flood Testing | $0 (Labor only) | $5,000 (Subfloor fix) | 1:Infinity |
| Vapor Barrier Add | $150 | $20,000 (Mold remediation) | 1:130 |
The “Flood Test” Value
The single most effective tool for avoiding common bathroom waterproofing mistakes is the 24-hour flood test. This involves plugging the drain and filling the shower basin with water. It costs nothing but time, yet it is the only way to verify the integrity of the system before the tile is installed. Skipping this step is the most frequent logistical error in the industry.
Risk Landscape and Failure Modes
-
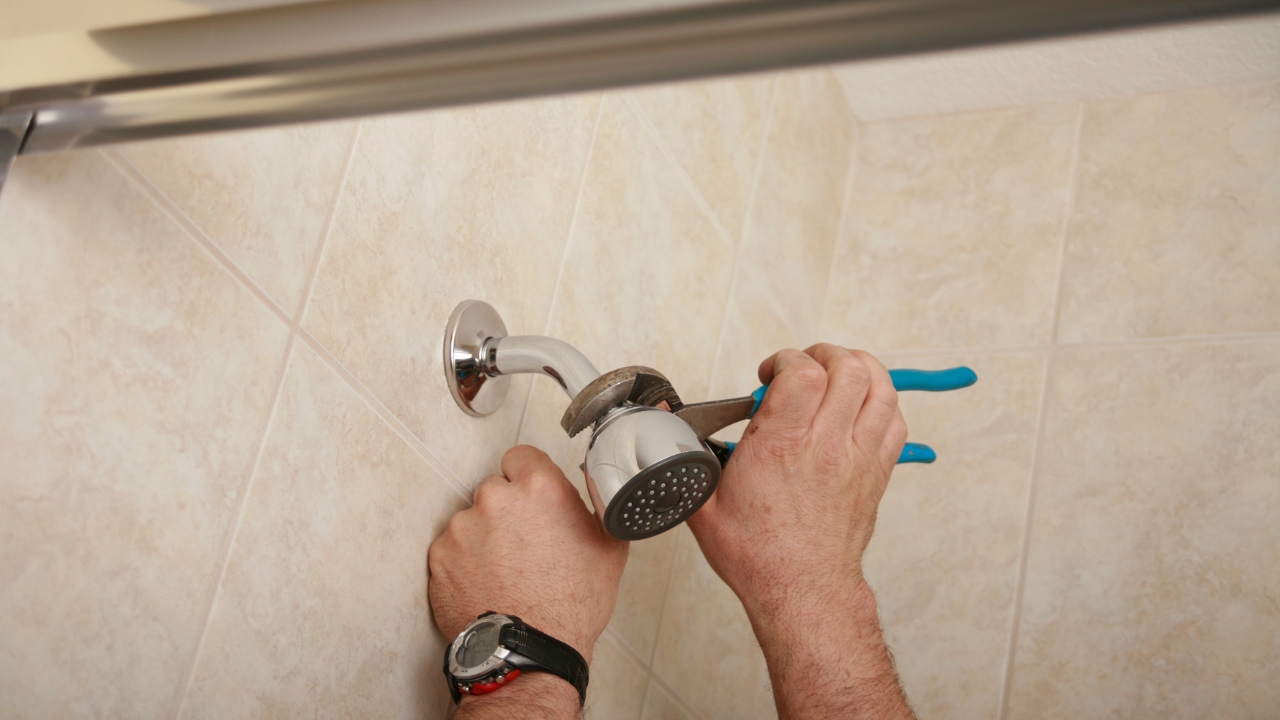
Penetration Points: Every screw used to install a grab bar or a shower door is a hole in the waterproofing. A common mistake is failing to “back-fill” these holes with marine-grade silicone.
-
The “Wicking” Stud: If the waterproofing membrane stops precisely at the edge of the shower, moisture can “wick” through the thinset and into the adjacent drywall, causing the paint outside the shower to bubble.
-
Chemical Incompatibility: Using a solvent-based sealer on a tile that is bonded with a water-based membrane can occasionally cause the membrane to soften or “re-emulsify.”
Governance, Maintenance, and Long-Term Adaptation
A waterproofing system is “active” only as long as its surface protection remains intact.
The Governance Checklist:
-
Silicone Replacement: Inspect all vertical and horizontal “change-of-plane” joints every 18 months. Silicone is a flexible joint; as it shrinks, it creates a “funnel” for water.
-
Drain Clearing: Ensure the “weep holes” in a traditional drain are not clogged with hair or sediment. If the weep holes clog, water becomes trapped in the mortar bed and goes stagnant.
-
Grout Integrity: While grout isn’t the primary barrier, cracked grout increases the “water load” on the membrane. Promptly repair any cracked grout lines.
Common Misconceptions
-
“Concrete board is waterproof.” Concrete board is “water durable,” meaning it won’t rot, but it will let water pass through it as easily as a sieve. It must be covered with a membrane.
-
“I used enough membrane because I can’t see the board anymore.” Liquid membranes have a “wet film thickness” requirement. If applied too thin, they are porous.
-
“The sealer on my tile will stop leaks.” Sealer is for stain resistance, not waterproofing. It does nothing to stop structural water migration.
Conclusion
The mitigation of common bathroom waterproofing mistakes is an exercise in meticulous redundancy. It is the realization that in a high-moisture environment, the “unseen” is far more important than the “seen.” A successful project is one where the waterproofing system is treated as a continuous, elastic, and chemically compatible envelope that anticipates the movement of the house and the persistence of water. By prioritizing the “flood test,” the “gravity path audit,” and the use of integrated manufacturer systems, a homeowner ensures that their sanctuary remains a dry, stable, and healthy part of their home for decades.